Pitching Tent Like a Pro: A Complete Guide for Beginners and Campers
Pitching a tent is one of the most essential camping skills every outdoor enthusiast should master. Whether you’re heading into the backcountry, car camping, or just setting up in your backyard, knowing how to pitch a tent correctly ensures a comfortable, safe, and stress-free camping experience.
In this beginner-friendly guide, you’ll learn exactly how to pitch a tent step-by-step, the tools you need, tips to avoid common mistakes, and how to stay secure in any condition.
What Does Pitching a Tent Mean?
Pitching a tent means setting up or assembling your tent at a chosen location. It involves choosing the right campsite, assembling the tent structure, and securing it firmly to the ground.
Step-by-Step Guide to Pitching a Tent
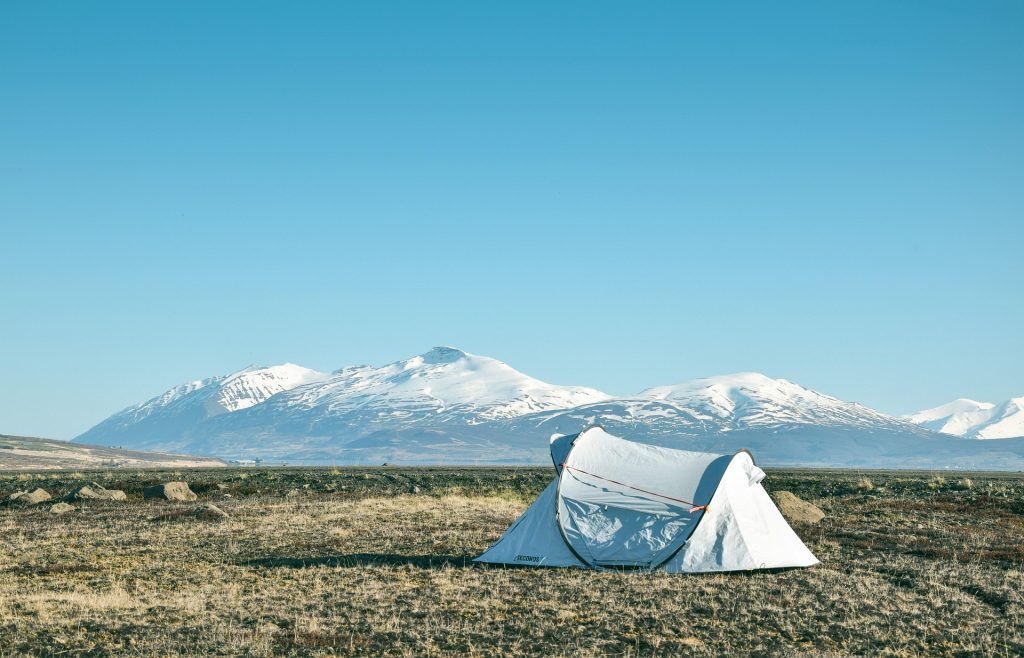
- Choose the Right Campsite
- Look for flat, dry, elevated ground
- Avoid low areas where rainwater might collect
- Stay clear of overhead branches and uneven terrain
- Position the tent away from strong winds, ideally with natural wind blocks like bushes or trees
- Lay Down a Footprint or Ground Tarp
- Place a tarp or footprint under your tent to protect the tent floor
- Make sure the tarp is slightly smaller than the tent base to prevent water from collecting underneath
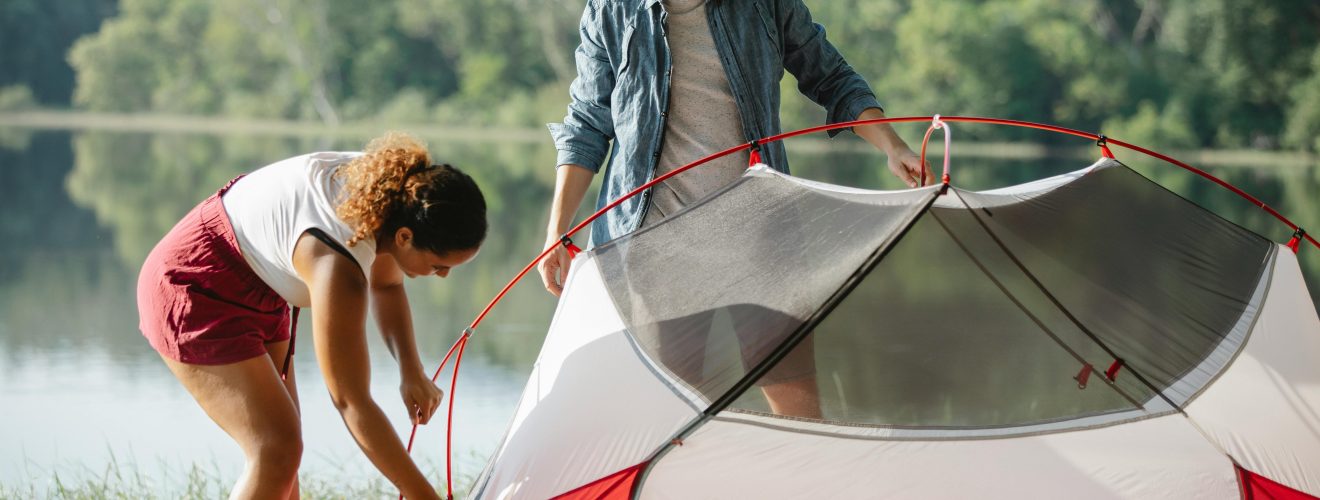
- Unpack and Unfold the Tent
- Take out the tent components: tent body, poles, stakes, rainfly
- Lay the tent flat and position it according to how you want the door to face
- Assemble the Tent Poles
- Most modern tents use shock-corded poles that snap together easily
- Slide poles through sleeves or clip them onto the tent body depending on your tent’s design
- Raise the Tent
- Insert the poles into their designated grommets or pin systems
- The tent will begin to take shape—clip the body to the poles if necessary
- Stake Down the Tent
- Use tent stakes to secure each corner of the tent
- Hammer the stakes in at a 45-degree angle, pointing away from the tent for better grip
- Attach the Rainfly
- If your tent includes a rainfly, drape it over the tent and attach it securely to the corners or poles
- Ensure it covers windows and vents properly for protection from rain
- Tighten the Guy Lines
- Extend and stake out the guy lines for added stability in wind or rain
- Adjust the tension for a snug fit, keeping the structure secure
Essential Gear for Pitching a Tent
| Item | Purpose |
| Tent | Your shelter (Buy now if you don’t have one) https://amzn.to/3TnQg3V |
| Ground tarp | Protects the tent floor from moisture & tears (You can try this Tarp) https://amzn.to/4nzXUGb |
| Tent poles | Supports the tent structure. Buy one here |
| Tent stakes | Secures tent to the ground. You can buy this one |
| Rainfly | Shields the tent from rain |
| Guy lines | Adds wind resistance. Check out this one |
| Mallet or rock | Helps drive stakes into the ground |
Pro Tips for Easy Tent Setup
- Practice at home: Pitch your tent before the trip so you know what to expect
- Color-coded poles: Follow color clues if your tent has them—it saves time
- Stake early: In windy conditions, stake down one side before assembling poles
- Always pack extra stakes: Some may bend or get lost
- Keep your tent dry and clean: A clean, dry tent is easier to handle and lasts longer
Common Mistakes to Avoid
- Setting up in a low-lying area where water pools
- Using a too-large ground tarp that sticks out and collects rain
- Not securing the rainfly properly, leading to leaks
- Forgetting to stake down guy lines, which help stabilize in windy weather
- Rushing the process and bending tent poles by forcing them
Mastering the basics of pitching tent can turn a frustrating camping chore into a smooth and satisfying experience. With the right preparation, tools, and practice, you’ll be able to set up your campsite quickly and enjoy more of the outdoors stress-free.